Jewelry is not just an accessory; it’s a reflection of personal style and taste. If you’re a jewelry enthusiast, you know the struggle of keeping your bangles organized and easily accessible. Instead of purchasing an expensive bangle stand, why not try your hand at crafting one at home? In this step-by-step guide, we will explore how to create a stylish and functional bangle stand using easily available materials.
Materials Needed:
Before diving into the crafting process, gather the following materials:
- Wooden dowel or PVC pipe
- Wooden base or sturdy cardboard
- Acrylic paints or spray paint
- Paintbrushes and palette
- Sandpaper
- Glue gun and glue sticks
- Decorative paper or fabric
- Decorative trim or ribbon
- Ruler
- Pencil
- Saw (if cutting dowel or PVC pipe is necessary)
Step 1: Planning and Designing
Start by deciding the dimensions of your bangle stand. Consider the number of bangles you want it to hold and the available space. Sketch a simple design, keeping in mind the overall aesthetic you want to achieve. Decide on the height and width of the stand and note down these measurements for reference.
Step 2: Cutting the Dowel or PVC Pipe
Using the measurements from your design, cut the wooden dowel or PVC pipe to the desired length. If you don’t have the tools to cut the material, many hardware stores can assist you with this step. Ensure the cut is clean and straight for a polished final look.
Step 3: Sanding
Smooth the edges of the cut dowel or pipe using sandpaper. This step is crucial to prevent splinters and ensure a professional finish. Sand all sides evenly until you achieve a smooth surface.
Step 4: Painting
Choose your favorite acrylic paint colors or spray paint to add a touch of personalization to your bangle stand. Apply the paint evenly with a brush or spray, allowing each coat to dry completely before adding the next. You may need multiple coats to achieve the desired color intensity.
Step 5: Decorating the Base
While the paint dries, focus on the base of your bangle stand. If you’re using a wooden base, you can paint it, cover it with decorative paper, or even glue fabric for a more textured finish. Get creative with patterns and colors to match your personal style.
Step 6: Adding Decorative Trim
Enhance the aesthetics of your bangle stand by attaching decorative trim or ribbon around the edges of the base. A hot glue gun works well for securing the trim in place. This step adds a refined and polished look to your DIY creation.
Step 7: Attaching the Dowel or PVC Pipe
Once the paint on the dowel or PVC pipe has dried, use a hot glue gun to attach it vertically to the center of the base. Ensure it is centered and secure, allowing the glue to dry completely before proceeding to the next step.
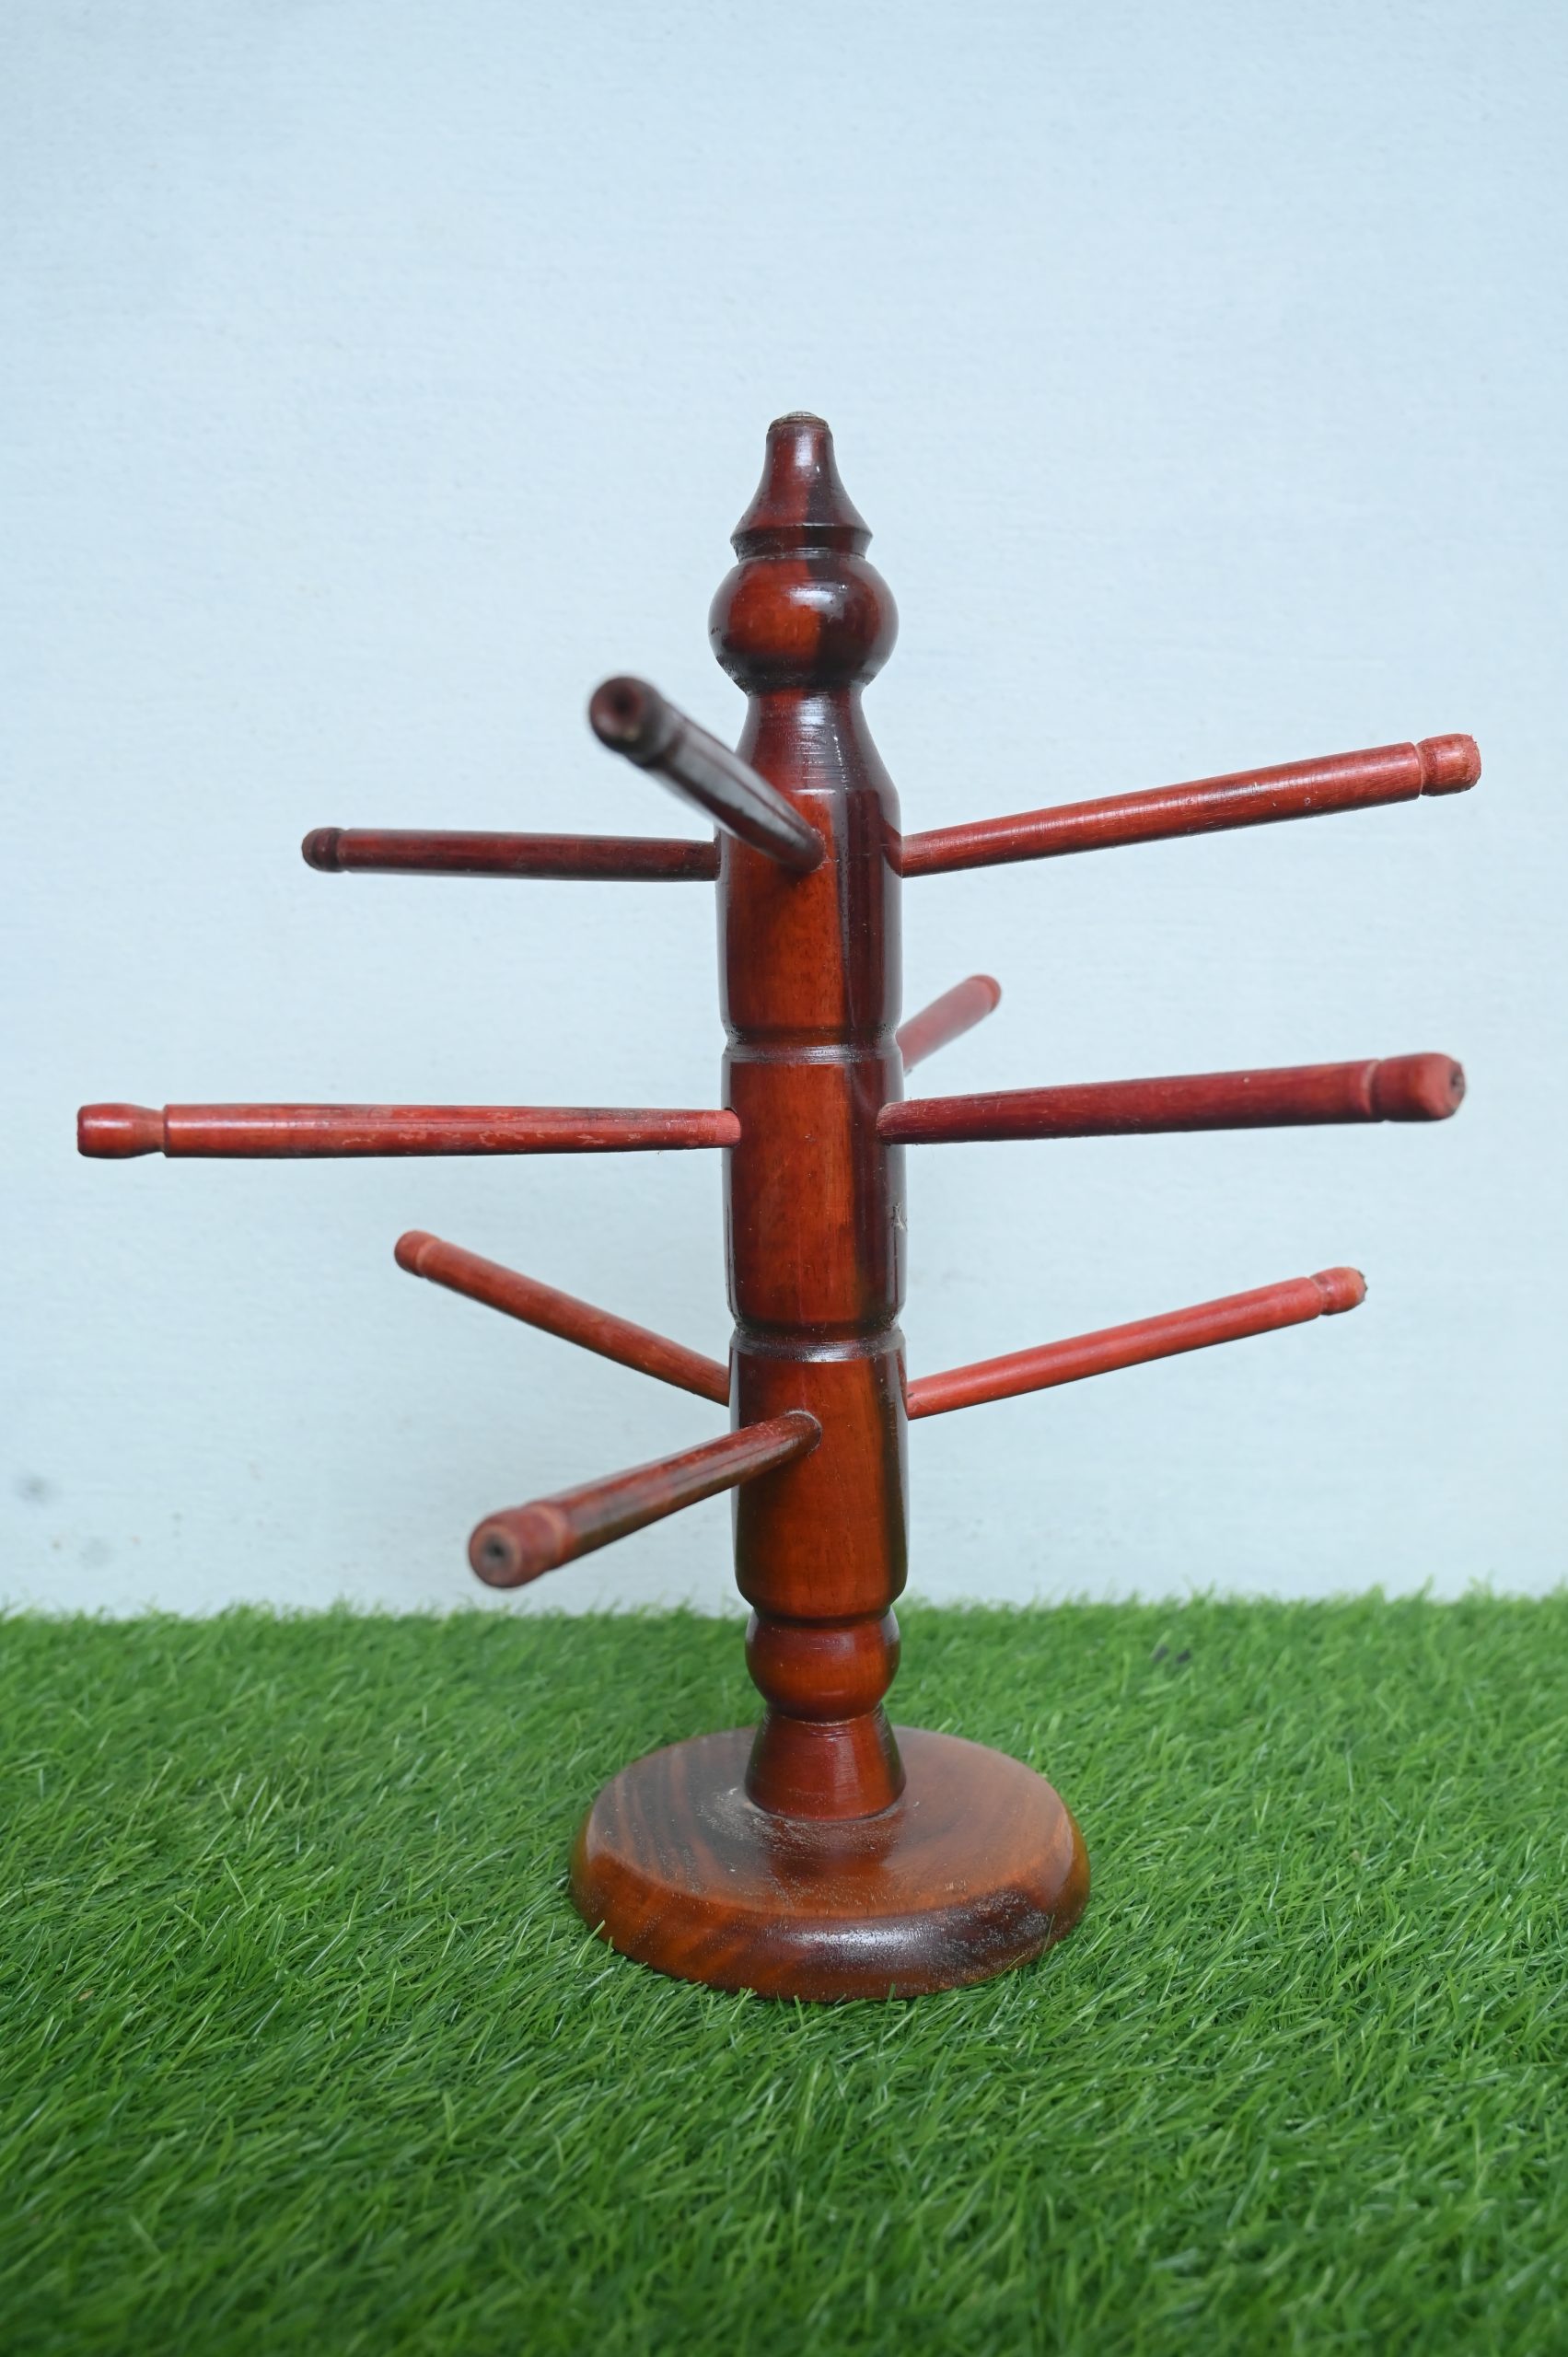
Step 8: Creating Support Arms
To make your bangle stand more versatile, consider adding support arms. Cut smaller pieces of dowel or PVC pipe, paint them to match the main stand, and attach them horizontally to the main dowel. These support arms will provide additional space for hanging more bangles.
Step 9: Decorating the Main Stand
To further enhance the aesthetics of the main stand, consider decorating it with additional trim, paint designs, or even decoupage with decorative paper. This step allows you to infuse your personality into the stand and make it uniquely yours.
Step 10: Drying and Final Touches
Allow your DIY bangle stand to dry completely before putting it to use. Once it’s dry, organize your bangles on the stand, starting from the bottom and working your way up. Stand back and admire your handcrafted jewelry organizer, and make any final touches if needed.
Check Out in Our Store: Wooden Bangle Stand with 9 Rods
Conclusion:
Creating your own bangle stand not only helps you organize your jewelry but also allows you to unleash your creativity. With just a few materials and some dedicated crafting time, you can have a stylish and functional bangle stand that reflects your personal taste and style. Embrace the DIY spirit and enjoy the satisfaction of showcasing your jewelry in a stand you crafted with your own hands.